MonitorMojo Blog
Client Website Onboarding Workflow for Monitoring
The first check you run on a new client's website is the most important one. It establishes the baseline that every future check is compared against. A structured onboarding workflow ensures you gather the right information, run the right checks, document the starting condition, and set clear expectations before ongoing monitoring begins. This expanded guide explains the practical monitoring workflow behind the topic, who should use it, what to check, how to document findings, and how to turn website health signals into useful client, developer, API, CLI, or AI-agent workflows without overstating what monitoring can prove.
Why Onboarding Workflow Matters for Monitoring
Skipping a proper onboarding creates problems later. Without documenting the starting condition, you cannot prove whether an issue was pre-existing or occurred on your watch. Without establishing check scope, you will have scope disputes later. Without communicating alert procedures, clients will not know how to interpret notifications.
A good onboarding workflow takes about an hour for a typical site. That hour pays for itself immediately when the first issue is detected — you have a clear baseline to compare against, clear scope to refer to, and a client who knows what to expect.
Onboarding is also your first opportunity to demonstrate competence. Running a health check and sending the client the baseline results shows them what they are paying for and why it matters.
Step-by-Step Onboarding Workflow
Step 1: Gather site information. Collect the URLs to monitor (main domain, subdomains, staging environments), the hosting provider, the DNS provider, and the client's technical contacts. Document this in your client record.
Step 2: Run the baseline health check. Run a full health check covering uptime, SSL, response time, security headers, and risk signals. Document all results with a timestamp.
Step 3: Review baseline findings. Identify any existing issues: SSL expiring soon, missing security headers, slow response time, error responses. Classify each finding by severity. Do not assume these will be fixed before monitoring begins — document them as pre-existing conditions.
Step 4: Define check scope and frequency. Agree on which URLs get checked, how often, and what triggers an alert. Document this in writing.
Step 5: Set up alert procedures. Define who receives alerts, on what channels, and what the escalation process is if the primary contact is unavailable.
Step 6: Send onboarding summary to client. Share the baseline health check results, agreed check scope, alert procedures, and any pre-existing issues identified. This document protects both parties and sets clear expectations.
Onboarding Checklist
Use this checklist to ensure onboarding is complete for every new monitoring client.
- Client contact information collected (primary, technical backup)
- All URLs to monitor documented (main domain, subdomains, critical pages)
- Hosting provider and DNS provider noted
- Baseline health check run and results documented with timestamp
- Pre-existing issues identified and classified by severity
- Pre-existing issues communicated to client as discovered conditions
- Check scope agreed upon in writing
- Check frequency agreed upon and documented
- Alert recipients and channels confirmed
- Escalation procedure documented
- Onboarding summary sent to client
- First scheduled check date confirmed
How to Handle Pre-Existing Issues
Almost every site you onboard will have at least one pre-existing issue. Missing security headers are the most common. An SSL expiring in 45 days is not unusual. A slow response time inherited from the previous agency or hosting setup is frequent.
Document these findings explicitly as conditions present at the time of onboarding. Send them to the client with a plain-language summary: "During onboarding, we identified the following items that were already present when we began monitoring." This protects you from being blamed for issues you did not cause.
For critical pre-existing issues (expired SSL, site returning errors), recommend immediate remediation before moving to ongoing monitoring. You do not want your first ongoing check to immediately alert the client about a pre-existing crisis.
How MonitorMojo Helps
MonitorMojo runs a comprehensive health check in one pass — uptime, SSL, response time, security headers, and risk signals. The baseline check is the natural starting point for every new client onboarding.
The historical record starts from the first check. Every subsequent check is stored alongside the baseline, making comparison automatic over time.
The API lets you integrate onboarding checks into your existing client management workflow. Trigger a check when a new client is added to your monitoring roster and store the result in your client record.
What this workflow means
Client Website Onboarding Workflow for Monitoring is best understood as a repeatable website health workflow, not a promise that every outage or configuration issue will be avoided. A step-by-step client website onboarding workflow for agencies to set up monitoring, establish baselines, and communicate expectations with new clients.
In practice, this workflow centers on API, CLI, and AI-agent workflows that retrieve website health context with human review. Each check is planning input: it can show that the site is reachable, that a certificate has a given expiry window, that response time has shifted, or that a header is missing. It cannot prove root cause by itself or replace a human response. The value is in making the review consistent enough that site owners and small teams can spot issues before someone downstream has to ask about them.
Who should use this
This is most useful for site owners and small teams. Agencies onboarding new clients to a monitoring service or care plan
Beyond that primary audience, the same checks are reusable by anyone with a public-facing URL that matters to revenue, leads, or reputation: a recurring review is cheap insurance compared to hearing about the problem from a client or customer first.
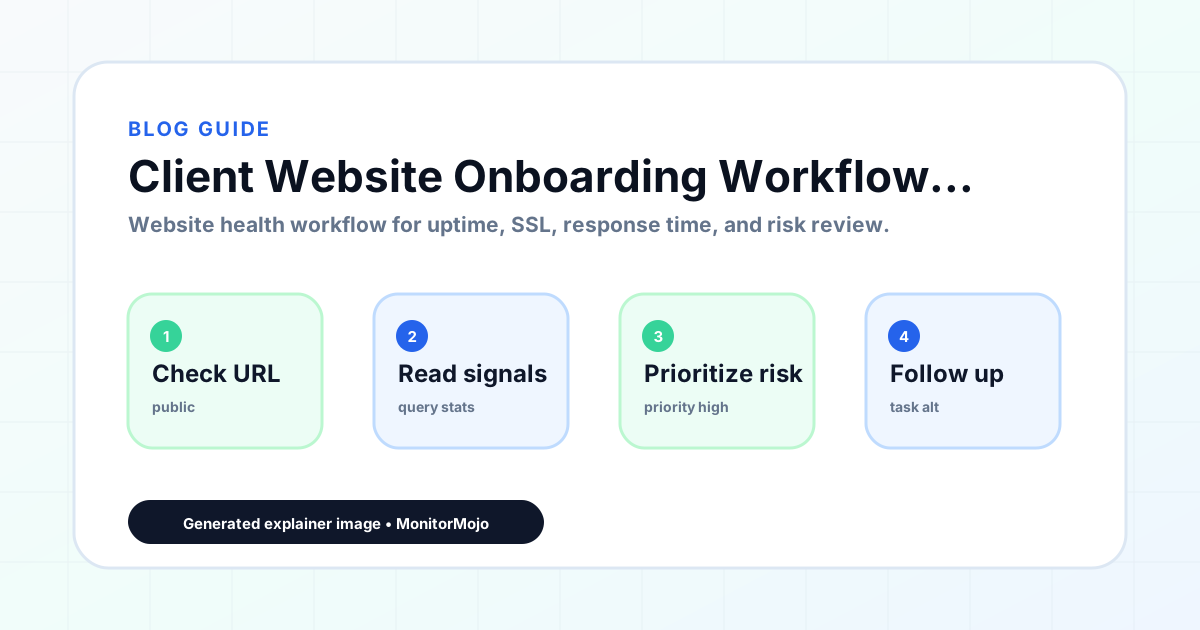
Step-by-step monitoring workflow
Start by listing the URLs that actually matter instead of just the homepage — for a small team doing a routine check before something breaks in front of a visitor, that usually means the pages tied to revenue, signups, or trust, not every page on the site.
Next, define the check types for each URL: reachability, HTTP status, HTTPS/SSL certificate status and expiry window, response time, redirect behavior, and security header presence. For API, CLI, and AI-agent workflows, document which endpoint or command runs the check and where the result is stored.
Set a cadence that matches the risk — a low-traffic page may only need a monthly look, while a page tied to revenue or signups deserves a check after every deployment and before any campaign or launch.
Record what you find with a consistent format: URL, check type, status, issue, owner, detected date, and next review date. Then say what actually happened in plain language — a check can surface a symptom, but site owners and small teams still need to confirm the cause.
- Choose the URLs that matter most to visitors, clients, revenue, and operations.
- Run uptime, SSL, response time, and security header checks on a consistent schedule.
- Triage failed or risky checks by likely owner: hosting, DNS, SSL, code, platform, or third party.
- Record notes in a repeatable format so future reviews do not start from scratch.
- Send a plain-language summary with the issue, impact, owner, and next review date.
- Run a confirmation check after remediation so there is an external result to reference.
Checklist or template
Use this template for recurring reviews: [URL], [Check Type], [Status], [Issue], [Priority], [Owner], [Detected Date], [Resolved Date], [Next Review Date]. Add a one-line summary at the top: what changed, what needs attention, and who owns the next step.
For site owners and small teams, group findings into the four signals that matter most: reachability, SSL status, response time, and security headers. Where nothing needs action, say the check found no issue in that area rather than implying full coverage.
- [URL]: the exact page or endpoint checked.
- [Check Type]: uptime, SSL, response time, headers, API, CLI, or agent workflow.
- [Status]: pass, review, failed, blocked, or needs human investigation.
- [Issue]: the observable symptom, not an unsupported root-cause claim.
- [Owner]: agency, developer, host, DNS provider, client, or third-party vendor.
- [Next Review Date]: when the team should confirm status again.
Common mistakes
The most common mistake is monitoring only the homepage while a checkout, signup, or booking flow silently breaks. Another is assuming SSL auto-renewal always works — it can fail quietly, and an external check is the only way to catch that before a browser warning does.
For site owners and small teams specifically, the recurring miss is treating one clean check as proof the whole site is fine, or fixing an issue without ever writing down what happened — which means the next person repeats the same investigation from zero.
- Tracking too many low-value URLs while missing the ones that matter.
- Skipping notes after an issue is resolved.
- Reporting a status without an owner or next step attached.
- Assuming automation can resolve an incident without human review.
- Treating one clean check as proof that every risk is covered.
Practical example
Consider a small team doing a routine check before something breaks in front of a visitor. A scheduled check flags that the site is slower than its usual baseline and that a security header is missing. Instead of guessing, the team logs the observation with a timestamp, assigns an owner, and re-checks after the fix ships — turning a vague "something feels off" into a specific, closed-loop task.
How MonitorMojo helps
MonitorMojo runs website health checks that combine reachability, SSL certificate status, response time, and security header presence in one workspace, so this workflow doesn't require stitching together several separate tools.
The API and CLI make the same checks scriptable for site owners and small teams who want them wired into an existing process, while credit-based checks keep it practical to run reviews exactly when they matter — before a client call, after a deploy, or when someone asks whether the site is healthy. Results still depend on hosting, DNS, and how quickly the responsible team acts on what the check finds.
Who this is for
- Agencies onboarding new clients to a monitoring service or care plan
- Freelancers who want a repeatable onboarding process for every new monitoring client
- Web professionals building a structured monitoring practice that scales
- Anyone who has had disputes about pre-existing site issues and wants to prevent them
Frequently Asked Questions
Should I run the baseline check before or after signing the client?
You can run a quick pre-sales check to inform your pricing and identify major issues. The formal baseline check should happen at onboarding, after the engagement is confirmed, so it is part of the official record.
What if the client does not respond to the onboarding summary?
Send the summary and note in your records the date it was sent. Follow up once if you need acknowledgement for specific items. Then proceed with monitoring. The sent summary is the documented record.
How do I handle a client whose site has critical issues at onboarding?
Document the issues, classify by severity, and communicate before beginning monitoring. For critical issues, recommend remediation first. You do not want monitoring to immediately fire alerts about pre-existing problems.
Should onboarding include a call with the client?
For new care plan clients or clients with complex sites, a brief onboarding call is valuable. For simpler engagements, a written summary is sufficient. Match the onboarding depth to the engagement size.
Can this prevent every issue with the site?
No. Monitoring helps site owners and small teams detect website health signals and organize follow-up, but it does not prevent every outage, SSL issue, slow response, or third-party failure. The result still depends on hosting, DNS, infrastructure, and how quickly the responsible team investigates and responds.
What should a monitoring report include?
The URL, check type, current status, detected issue, priority, owner, detected date, resolved date if applicable, and the next review date. Keep the language tied to what the check actually observed, especially when the root cause still needs developer, host, or platform review.